Honda Civic Chrome Delete — How to Do It and What It Costs
Chrome delete is the highest impact, lowest cost exterior modification available for the Civic. Here is exactly what to wrap, what material works best, and how to do it yourself in an afternoon.
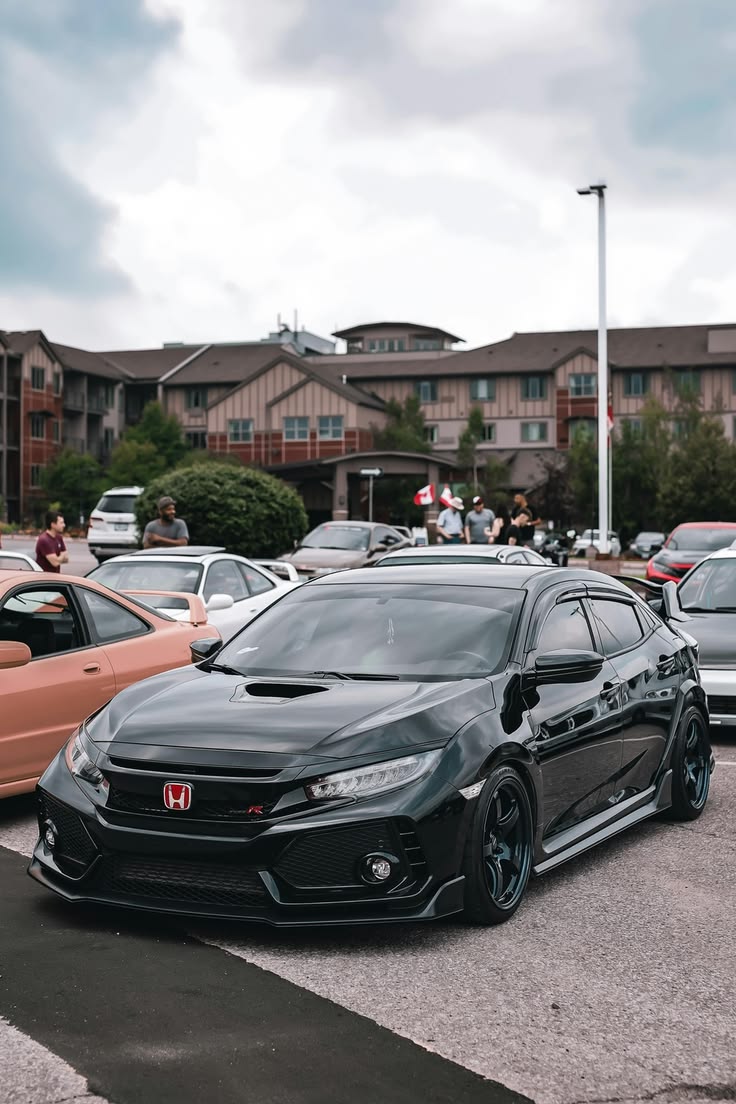
What Chrome Delete Actually Is
Chrome delete is exactly what it sounds like — removing or covering the chrome trim on your car to create a more modern, aggressive, blacked-out appearance. On the Honda Civic chrome appears on the window surrounds, door handles, badges, mirror caps, and various trim pieces depending on the trim level.
The most common approach is applying matte black or gloss black vinyl wrap film over the chrome surfaces — the vinyl adheres to the chrome, looks clean when done correctly, and is completely reversible. You are not removing or painting anything — just covering it with a removable film.
What to Chrome Delete on the Civic — Priority Order
Which Vinyl Wrap Material to Use
Matte black is the most popular choice for chrome delete — it completely eliminates any shine and creates a flat, aggressive look that contrasts sharply with the car's paint. Works best on darker coloured cars.
Gloss black maintains a shiny surface but eliminates the silver chrome colour. Works well on any paint colour and looks particularly good on white or light coloured Civics where you want contrast without the flatness of matte.
Satin black sits between the two — a low sheen that is more subtle than gloss but not as flat as matte. Many Civic owners prefer this for a more premium, factory-fitted appearance.
Material recommendation: For beginners 3M 1080 series or VViViD vinyl is the most forgiving to work with. It stretches well around curves, repositions easily before it sets, and produces clean results even on your first attempt. Avoid cheap no-brand vinyl — it does not stretch properly and tears.
Step by Step — How to Chrome Delete Your Civic
What You Need
Vinyl wrap film in your chosen finish, a plastic squeegee or credit card for smoothing, a heat gun or hair dryer, isopropyl alcohol for cleaning surfaces, a sharp craft knife or vinyl cutting tool, and microfibre cloths.
The Process
Clean thoroughly first. Any dirt, wax, or grease under the vinyl will cause bubbling and lifting. Wipe every surface with isopropyl alcohol and let it dry completely before touching the vinyl.
Cut slightly larger than needed. Always cut your vinyl piece larger than the surface you are covering. You can always trim excess — you cannot add material back.
Use heat on curves. Vinyl does not naturally want to wrap around curved surfaces. A heat gun warms the material and makes it soft and pliable — it will conform to complex shapes when warm in a way it simply cannot when cold.
Squeegee from centre outward. Start in the middle of any piece and work outward toward the edges. This pushes air bubbles out rather than trapping them in the middle.
Trim and tuck edges. Use a sharp knife to trim excess vinyl at the edges and tuck any remaining material into gaps and channels for a clean finished edge.
DIY vs Professional Chrome Delete
| Category | DIY | Professional |
|---|---|---|
| Cost | $30-60 materials | $150-300 |
| Time | 4-6 hours first time | 2-3 hours at shop |
| Result quality | Good with patience | Excellent |
| Reversible | Yes | Yes |
| Warranty | No | Often included |
Chrome delete is one of the most beginner-friendly vinyl wrap projects available. The surfaces are small, the shapes are mostly simple, and mistakes are easy to correct by peeling and reapplying. Most Civic owners successfully DIY their chrome delete on the first attempt with the right materials and a bit of patience.
How Long Chrome Delete Lasts — Real Expectations
Vinyl chrome delete done correctly with quality film from a reputable brand lasts 4-7 years on most exterior surfaces before showing visible quality degradation — fading, lifting at edges, or loss of colour consistency. This assumes proper surface preparation before application and protection from prolonged UV exposure through parking in covered areas when possible.
The areas that degrade fastest are those with the most exposure to road debris, UV, and temperature cycling — the lower bumper trim, door handles, and anything close to the roofline on convertibles. Interior chrome delete on elements like door sill trim and centre console surrounds lasts longer since it is protected from weather.
Keeping the vinyl clean with mild soap and water and avoiding abrasive cleaners extends the life significantly. Annual application of a vinyl-safe protectant product maintains the finish appearance and slows UV degradation. Some owners ceramic coat their chrome delete vinyl — a ceramic layer formulated for vinyl adds meaningful UV protection and makes the surface much easier to clean.
Colour Options Beyond Matte Black
Matte black is the most popular chrome delete colour by a significant margin — it suits virtually every Civic colour and gives a clean, purposeful look without drawing attention to the modification itself. But it is far from the only option worth considering.
Satin black sits between matte and gloss — a subtle sheen that reads differently in different lighting conditions. It works particularly well on silver and grey Civics where full matte looks slightly flat. Gloss black matches factory gloss paint and creates a cohesive look on dark-coloured Civics. Gunmetal and dark grey options work well on blue and grey cars where straight black reads as too stark a contrast.
Body-colour chrome delete — using vinyl that matches the car's paint colour — eliminates the chrome elements entirely and creates a seamlessly monochromatic look. This is particularly effective on white Civics where white vinyl on chrome trim creates a completely factory-clean appearance without the chrome reflection. It requires colour-matching that is easier on common factory colours like white, black, and silver than on unusual colours.
our smoked taillight guide covers film vs spray methods and what looks cleanest on the Civic.
Frequently Asked Questions
What is a chrome delete on a Honda Civic? Chrome delete refers to covering or replacing the chrome trim elements on the Civic — door handles, window trim, grille accents, and badges — with black vinyl wrap, gloss black paint, or pre-cut replacement pieces. It gives the car a more aggressive, blacked-out appearance.
How much does a Civic chrome delete cost? DIY with vinyl wrap material costs $30-80 for materials. Professional installation by a wrap shop typically runs $150-400 depending on how many elements are covered. Pre-cut chrome delete kits specific to the Civic cost $40-120.
Is a chrome delete permanent? No — vinyl wrap is removable without damaging the underlying paint, making chrome delete one of the most reversible exterior modifications available. The original chrome can be restored to factory appearance by removing the wrap.
Does chrome delete affect resale value? Minor negative impact on resale for buyers who prefer the stock appearance. However, since it is easily reversible, restoring to chrome before sale is straightforward. Most enthusiast buyers in the Civic community view chrome delete positively.
How long does a chrome delete vinyl wrap last? Quality vinyl wrap lasts 3-7 years depending on exposure to sun, washing frequency, and quality of the material. Cast vinyl from brands like 3M or Avery lasts longer than cheaper calendered vinyl.
How long does chrome delete last on a Civic? Quality vinyl from a reputable brand lasts 4-7 years on exterior surfaces with proper maintenance. Interior chrome delete elements last longer since they are protected from weather and UV exposure.
Can chrome delete be removed if I want to sell the car? Yes — vinyl chrome delete peels off without damaging the chrome or paint underneath, which is one of its advantages over painting. The original chrome returns to its original condition when the vinyl is removed.